Virtual Networking - VLANs in the Cloud
RackCorp’s Cloud platform supports fully customisable interworking for your virtual machines; with regards to customisable VLANs both tagged and untagged, and definable IPv4 and IPv6 subnets.
Since the RackCorp cloud platform supports a ‘many customers can have many sub customers hierarchy, as a reseller or system manager can define custom networks for each customers private clouds very easily.
Once your VLANs and IP subnets are setup, these can be tied into your VMs via up to 3 virtual NICs. No end user software environment configuration is necessary.
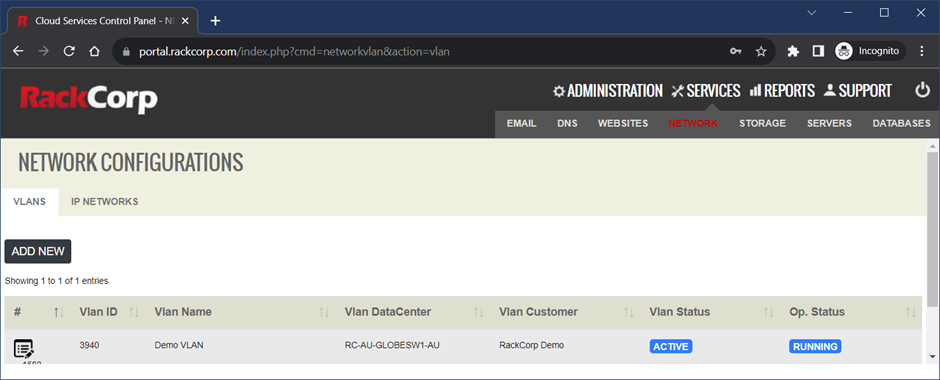
VLAN and IP subnets are accessed via the SERVICES -> NETWORK menu
Add a new VLAN
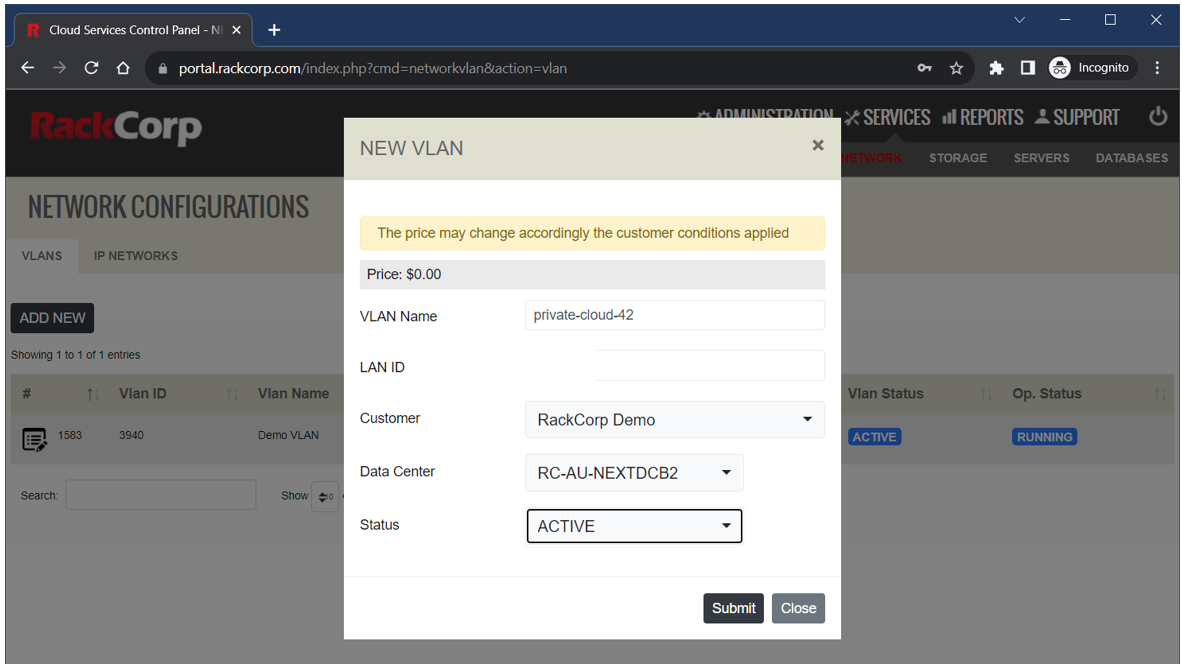
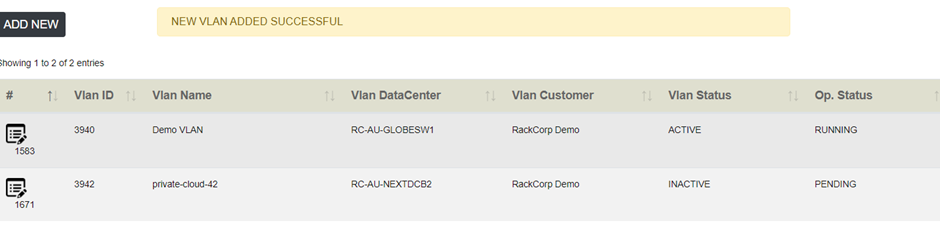
Click Add New on the VLANs tab an fill in the form appropriately.
Leave LAN ID field blank unless you have been given a specific LAN ID to use by RackCorp support
Add a new IP Network
Next, use the Add new IP network to add a new subnet to your account. Take care to assign it to your newly created desired VLAN.
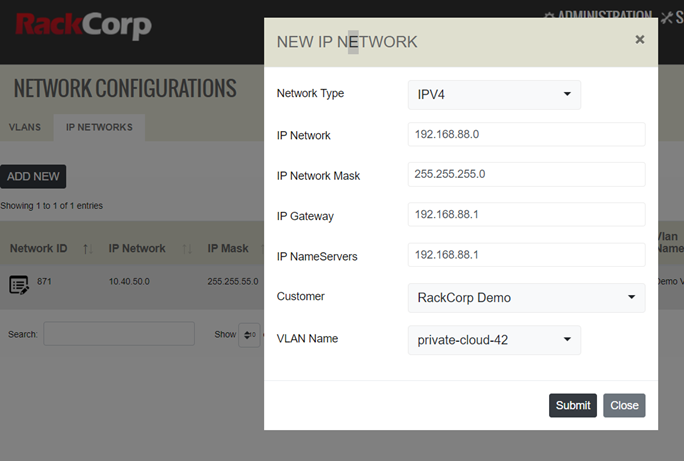
You now have a newly defined Private VLAN and IP subnet.

Next, we assign these newly created resources to a virtual machine.
Adding Virtual NICs to Virtual Machines
Select your VM from the SERVICES-> SERVERS list in your RackCorp Portal Account. Click on the NETWORK tab.
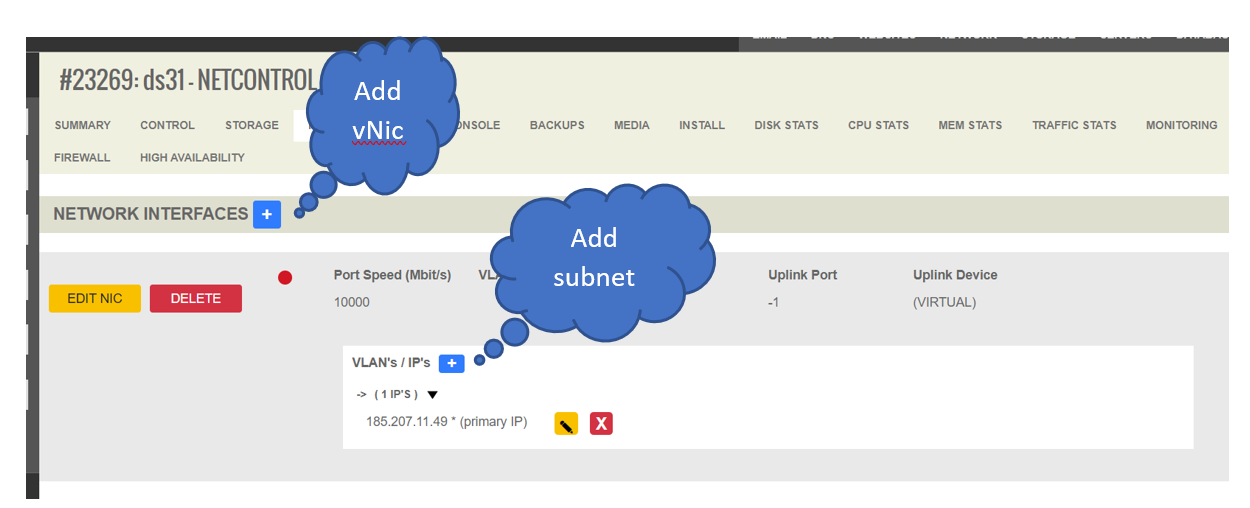
For this example demonstration we will add a 2nd private vNIC to the default configuration, preserving NIC1 which is the default PUBLIC vNIC that was configured when ordering the virtual machine.
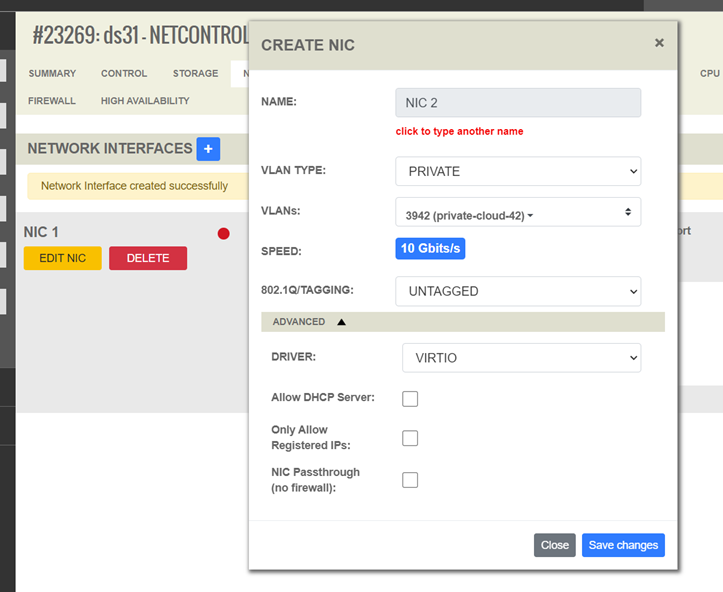
1. Add a new PRIVATE NIC and select the desired VLAN and tagged/untagged.
2. Review any advanced settings, leave as default if unsure:
· DRIVER - Our vNIC are configured to use the RedHat virtio paravirtual driver by default. If you are using an older operating system you may select Intel E1000
· ALLOW DHCP SERVER – select if this NIC will be running a DHCP server
· ONLY ALLOW REGISTERED IPs - If selected, traffic leaving this server from IPs other than that registered in the portal will be blocked. NOTE: firewalls and routers will regularly pass such traffic so you should leave this unticked for such devices.
· NIC PASSTHROUGH - allows all traffic to pass through the NIC and disables stateful tracking of traffic
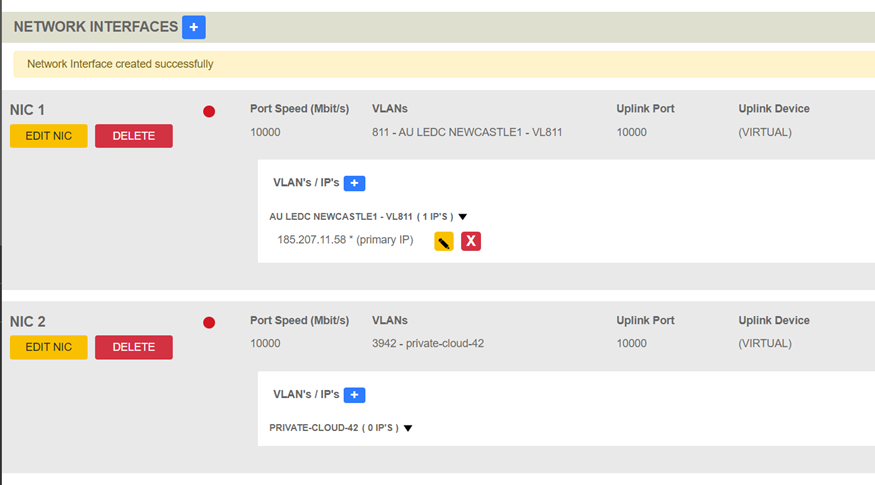
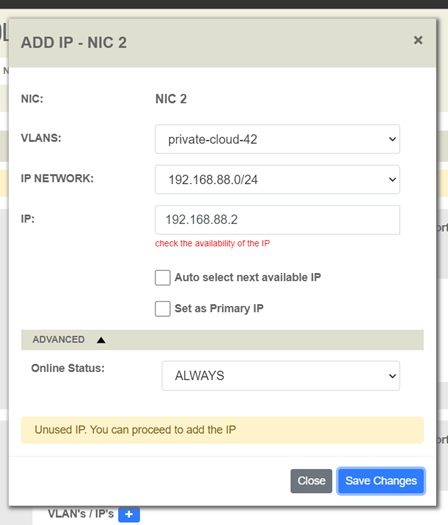
3. The new vNIC has been created successfully. Next, add the particular subnet to the vNIC
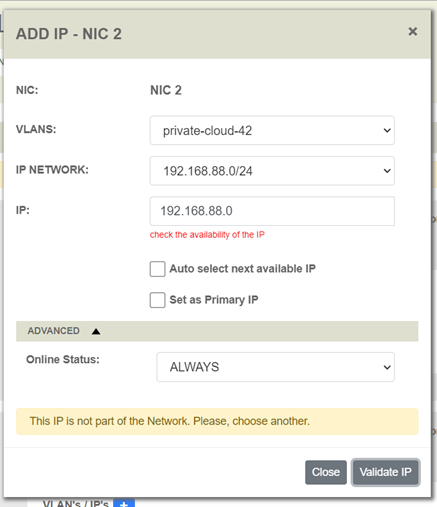
Upon selection of your new VLAN, the associated subnet is pre-populated. Enter your desired host IP address for the 2nd vNIC under IP or use auto select, then press VALAIDATE IP to check your configuration.

Further Reading
See our OPNSENSE firewall setup guide for further examples on how to use virtual NICs and VLANs with RackCorp Hybrid Cloud
https://wiki.rackcorp.com/books/help-and-support-en/page/install-opnsense-firewall
No comments to display
No comments to display